Changelog
Trigger.dev v4.5.9
New `trigger report health` CLI command, percentage-based queue concurrency limits, and an all-queues dashboard for every environment.


Trigger.dev v4.5.7
Node.js 24 and 26 runtimes graduated from experimental, chat agent turn loop improvements, and a refreshed dashboard side menu.
Trigger.dev v4.5.6
Security release: self-hosted default credentials removed and a dozen other security fixes.
Trigger.dev v4.5.5
Experimental Node.js 24 and 26 runtimes, ClickHouse read replica routing, and eight server improvements.

Trigger.dev v4.5.4
v3 engine removed, syncEnvVars secret marking, and a fix for chat.agent message drops.

New region: US West (Oregon)
Run your tasks in AWS US West (Oregon). A third region alongside US East and Europe, for low latency to West Coast services and APIs.

Infisical integration
Sync secrets from Infisical straight into your Trigger.dev environment variables. Keep Infisical as your source of truth, with no build step or CLI required.

Trigger.dev v4.5.2
onEvent lifecycle callbacks for TriggerChatTransport, large batch payload offloading, and five chat session bug fixes.

Higher Realtime connection limits
Paid plans now include more simultaneous Realtime connections: Hobby moves to 150 and Pro to 1,000.
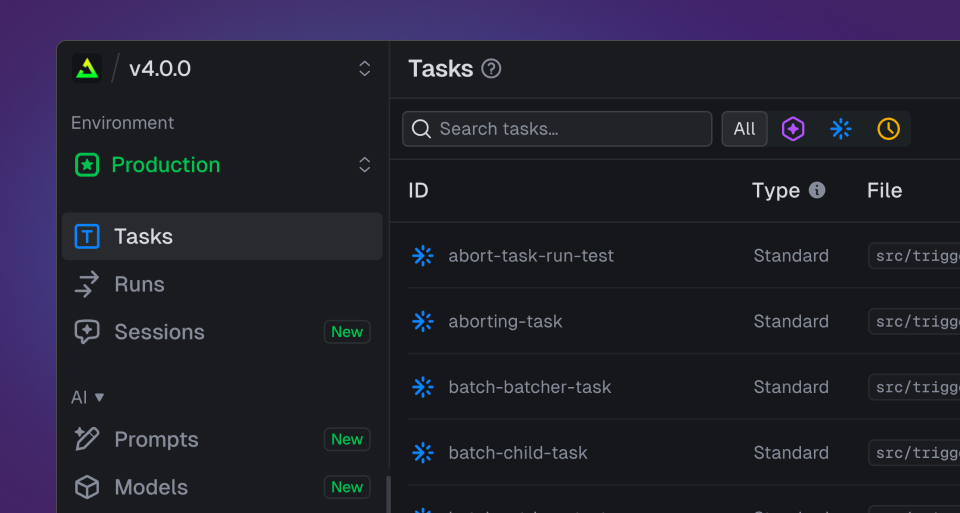
Dashboard UI updates
A calmer redesigned sidebar, a dedicated overview page for every task, new task-type icons with filtering, a relocated Test button, and 24-hour activity charts.
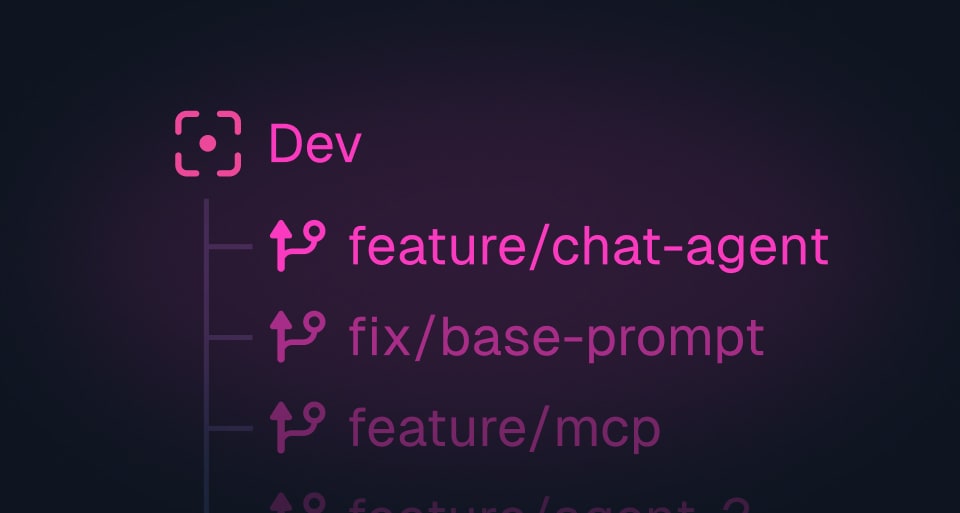
Dev branches
Run several local dev sessions at once without their runs colliding. Each dev branch is isolated with its own dashboard, so parallel git worktrees and coding agents stay out of each other's way.

Billing limits & spend alerts
Set a spend cap on your organization. Reach it and we pause execution across every environment, so new runs keep queuing but stop running, and a runaway job can't blow past your budget.
Trigger.dev v4.5.0
AI Agents, Sessions, Prompts, dev branches, TriggerClient, and 6 SDK and runtime improvements.

Trigger.dev is now HIPAA ready
Trigger.dev Cloud now meets HIPAA Business Associate requirements. Sign a BAA and run workloads that process Protected Health Information on our managed infrastructure.
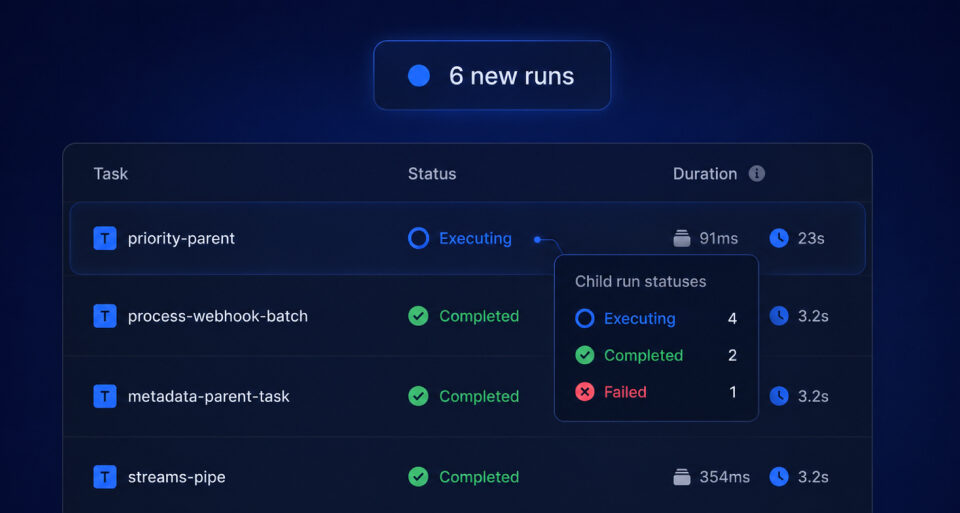
Runs page updates Live
Runs page now updates in place: statuses change live, a banner flags new runs, and parent tooltips show child-run breakdowns.
Trigger.dev v4.4.6
Faster failure on uncaught exceptions and a fix for dev workers spinning at 100% CPU.
Trigger.dev v4.4.5
Run replay detection with ctx.run.isReplay, a --no-browser CLI flag for headless environments, and a 24-hour grace window for API key rotations.