Blog

Powering Cal.com's core booking engine with AI scans, calendar syncs, and durable async fan-out tasks
Morgan Vernay, Software Engineer at Cal.com, shares how their team runs millions of background tasks every month on Trigger.dev: booking side effects, AI phishing detection, fraud analysis, and Google/Microsoft Graph calendar syncing.

Customer story
•
Runs list and logs degraded
For several hours on June 30, the dashboard runs list and logs were degraded while your runs kept executing normally. Here's what happened, how we recovered, and what we're changing so it can't happen again.

Incident report
•
Incident report on June 22, 2026
On June 22–23, 2026, both of our regions had spells where they couldn't start new runs, and recovery took the best part of a day. Here's what happened, what it cost, and what we're changing so it can't happen the same way again.

Incident report
•

We ditched worktrees for Claude Code. Here's what we use instead
Git worktrees solve code isolation but create infrastructure nightmares. We teach Claude Code to use GitButler's CLI directly, splitting one session's work across multiple branches without duplicating databases, Redis, or dev servers.
Article
•

Why we replaced Node.js with Bun for 5x throughput
How we took our warm start service from 2,099 req/s on Node + SQLite to 10,700 req/s on a compiled Bun binary, and found a subtle memory leak that only exists in Bun's HTTP model.

Article
•

10 Claude Code Tips You Didn't Know
Go beyond the chat interface. 10 lesser-known Claude Code patterns: session forking, parallel worktrees, multi-agent orchestration, and headless CI/CD.

Article
•
How we give every user SQL access to a shared ClickHouse cluster
A deep dive into TRQL — the SQL-like language behind Query. How we parse, validate, and compile queries to secure, tenant-safe ClickHouse SQL.
Article
•

Skills: teaching AI agents to act consistently
Skills teach AI agents how to do specific tasks consistently. Learn how they work, what's inside them, and how agents discover and load them.
Article
•

How Tierly builds AI-powered pricing intelligence using Trigger.dev
Gerasimos Plegas, Founder at Tierly, shares how they orchestrate complex multi-step AI workflows for competitive pricing analysis using Trigger.dev.

Customer story
•

Trigger.dev raises $16M Series A
We've raised a $16M Series A led by Standard Capital, with participation from Y Combinator.
Article
•

How GovSignals is solving government procurement using Trigger.dev
Conner Aldrich, Co-Founder & CTO at GovSignals, shares how his team uses Trigger.dev to power large-scale AI ingestion, high-compute proposal generation, and a dual-deployment model spanning both Trigger cloud and a fully self-hosted, FedRAMP High environment.

Customer story
•

Accelerating global logistics workflows using AI copilots
Karl Kaiser, Engineer at Pallet, shares how his team uses Trigger.dev to power their logistics AI copilot, automating the exchange of shipment and transport data between multiple systems in real-time.

Customer story
•

How we built a kanban-style triage agent for managing coding agents
Justin Sun, Co-founder and CTO of Capy, explains how they use Trigger.dev's workflow engine to run an intelligent triage agent that coordinates many concurrent coding agents in completing end-to-end engineering tasks.

Customer story
•

Our roadmap for the next 3 months and beyond
After shipping v4 GA, we're focusing on making Trigger.dev the best platform for AI agents. Here's our 3-month+ roadmap: GitHub and Vercel integrations, sub-500ms MicroVM cold starts, improved logging with ClickHouse, an Agent Toolkit, and advanced metrics.

Article
•

Powering HeroUI Chat's complex deployment pipeline with Trigger.dev
Junior Garcia, founder of HeroUI, explains how Trigger.dev powers the complex deployment pipeline for HeroUI Chat, their AI-powered platform that lets anyone build applications using atomic React components.

Customer story
•

Official MCP server & agent rules
We've created an official MCP server and agent rules for Trigger.dev that makes getting setup, developing, and debugging your tasks a breeze.
Launch week
•

4x concurrency, static IPs and multi-region workers powered by AWS
Get 4x more concurrency on paid plans and static IPs with our new AWS regions, starting with us-east-1 and eu-central-1.
Launch week
•

Bulk actions
Bulk cancel and replay any number of runs using filters.
Launch week
•

Preview branches
Create isolated environments for each of your git branches.
Launch week
•

Trigger.dev v4 GA
This is our most significant performance and developer experience upgrade yet, built on our new Run Engine.
Launch week
•

How we built a real-time service that handles 20,000 updates per second
We process 20,000 run updates per second and 500GB of data daily using Postgres replication slots and ElectricSQL. Here's why we chose this over WebSockets and how we solved the hard problems of authentication, rate limiting, and caching.
Article
•

How Magic Patterns migrated 200k monthly jobs to Trigger.dev in one day
Alex Danilowicz, Co-founder of Magic Patterns, shares why they migrated their critical background jobs to Trigger.dev from their unreliable self-hosted solution.

Customer story
•
Self-hosting Trigger.dev v4 using Kubernetes
You can now self-host Trigger.dev v4 using Kubernetes. This adds to the existing Docker option.
Article
•

Self-hosting Trigger.dev v4 using Docker
You can now self-host Trigger.dev v4 using Docker. This is a big step towards making Trigger.dev more accessible to everyone.
Article
•
Automating security compliance using AI agents
Lewis Carhart, Founder at Comp AI, shares how they use Trigger.dev to automate evidence collection at scale, powering their open source, AI-driven compliance platform.

Customer story
•
Icon: revolutionizing video ad creation with Trigger.dev
Caleb Tan, Founding Engineer at Icon, shares how they use Trigger.dev to process thousands of videos concurrently, powering their AI-driven ad creation platform that allows global brands to generate full video ads in minutes.
Customer story
•
Trigger.dev v4 beta
Today we're excited to launch our v4 beta, that includes Run Engine 2. There are significant performance improvements like warm starts, a totally revamped dashboard, human in the loop tokens, and more.
Article
•
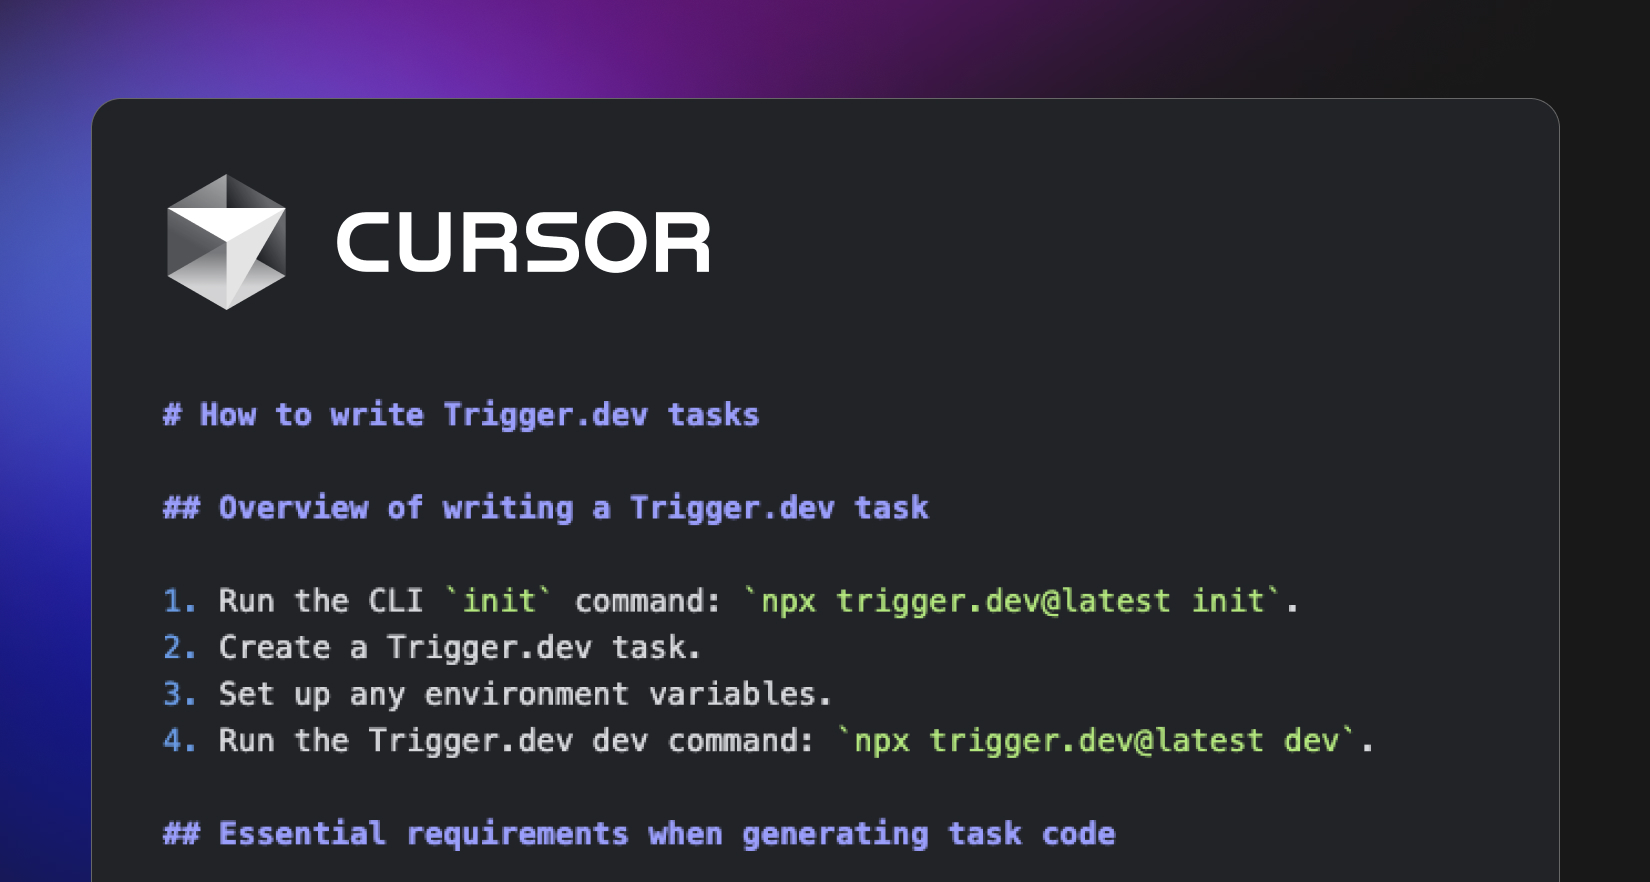
How to write great Cursor Rules
What we learned writing a Cursor Rules file for Trigger.dev tasks, and 10 tips for writing your own
Article
•

How Trigger.dev powers Huntr's internal AI agents
Sam Wright, Head of Operations and Partnerships at Huntr, explains how they use Trigger.dev to build AI agents for content generation and internal tooling.

Customer story
•
How MagicSchool AI develops insights using Trigger.dev
Ben Duggan, Staff Software Engineer at MagicSchool AI, shares how they use Trigger.dev and Vercel's AI SDK to extract insights from millions of student interactions.

Customer story
•
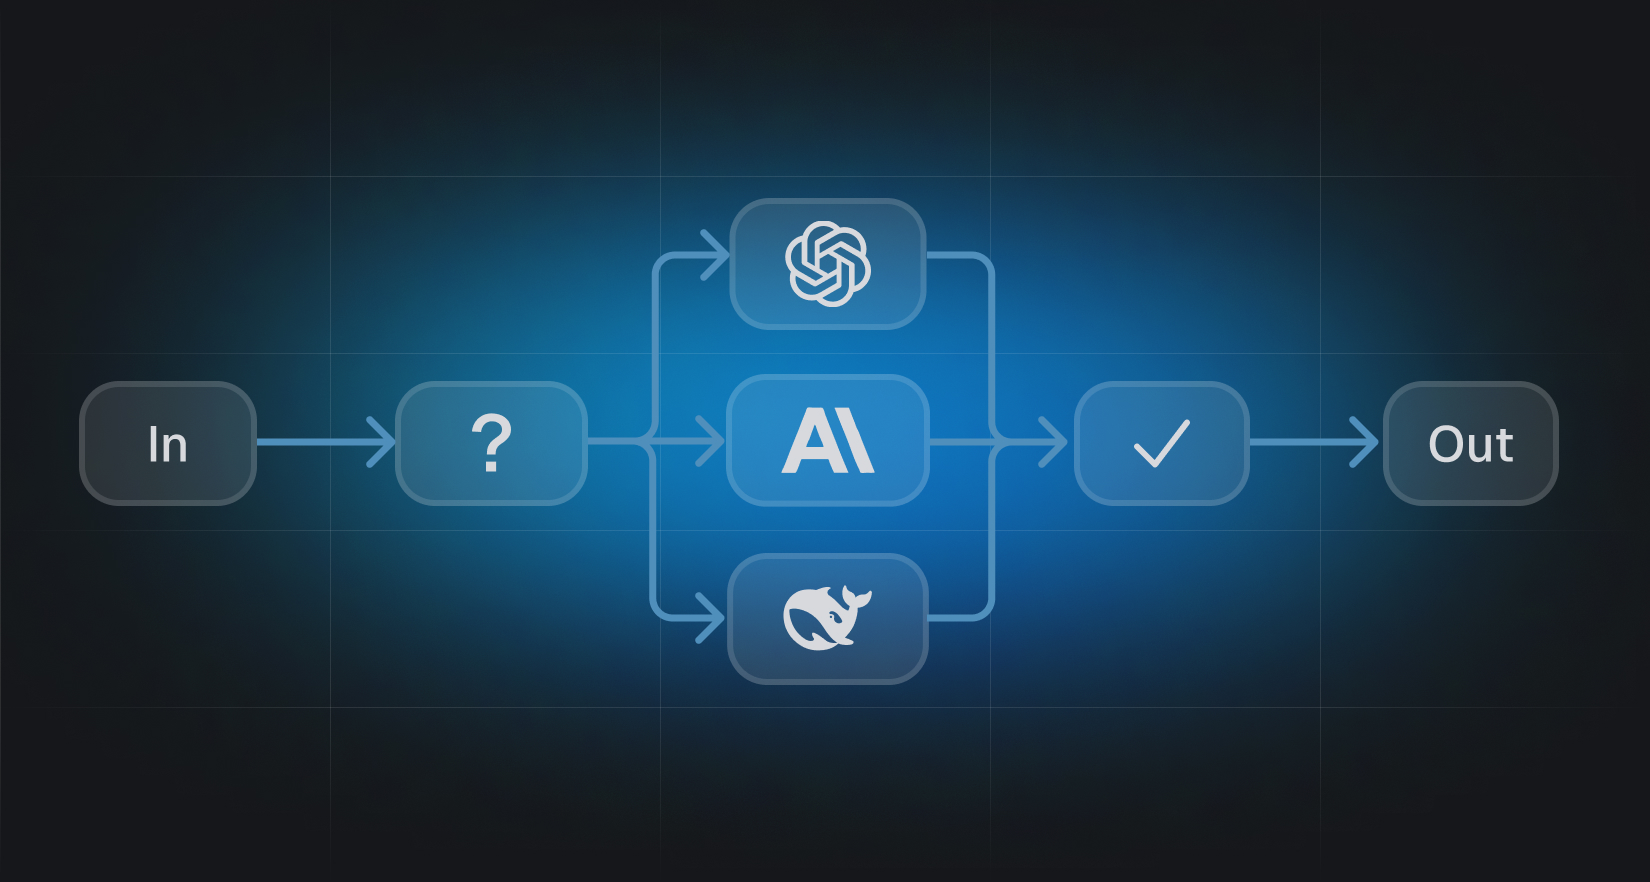
Building effective AI agents with Trigger.dev
Learn how to build AI agents with Trigger.dev, and how they can help you build more resilient systems.
Article
•

Midday's Automated Bank Synchronization, powered by Trigger.dev
Pontus Abrahamsson, CEO and co-founder of Midday, deep dives into how they use Trigger.dev to reliably sync bank transactions for their 11,500+ customers.
Customer story
•
![Everything we launched during launchweek[0]](/blog/launchweek0-recap/recap.jpg?1)
Everything we launched during launchweek[0]
A recap of all the new features we announced during our first launch week.
Launch week
•

Run Engine 2.0 (alpha)
Warm starts, multi-region workers, self-hosted workers, and new waitpoints.
Launch week
•
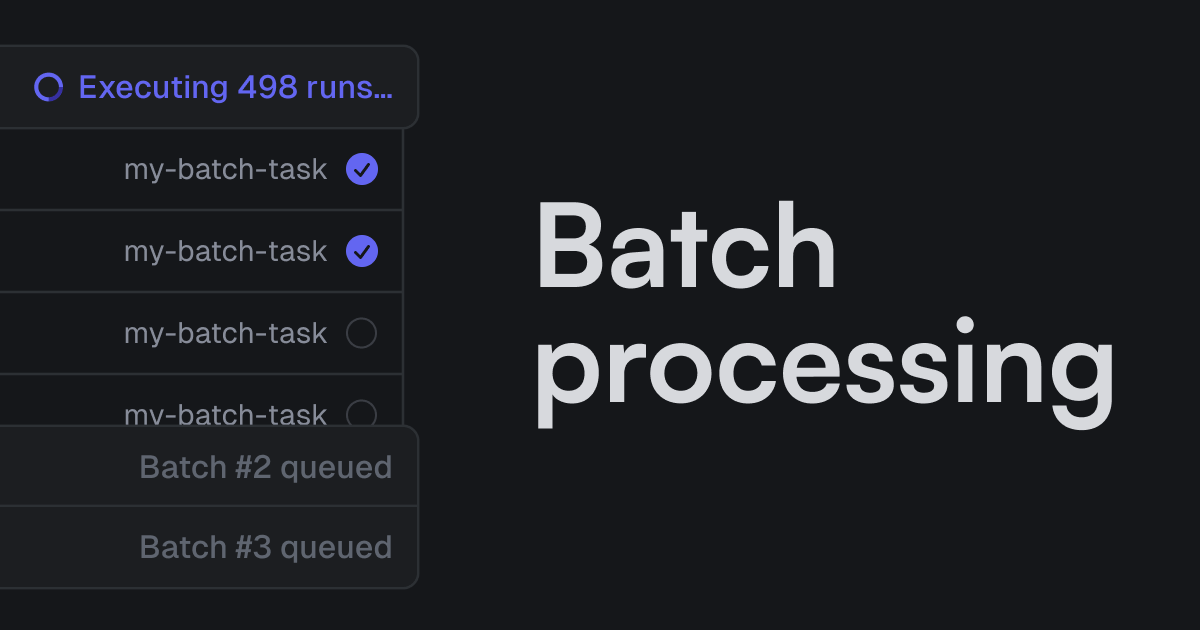
Batch processing
A bunch of improvements to our batch processing system, including new limits and dashboard visibility.
Launch week
•
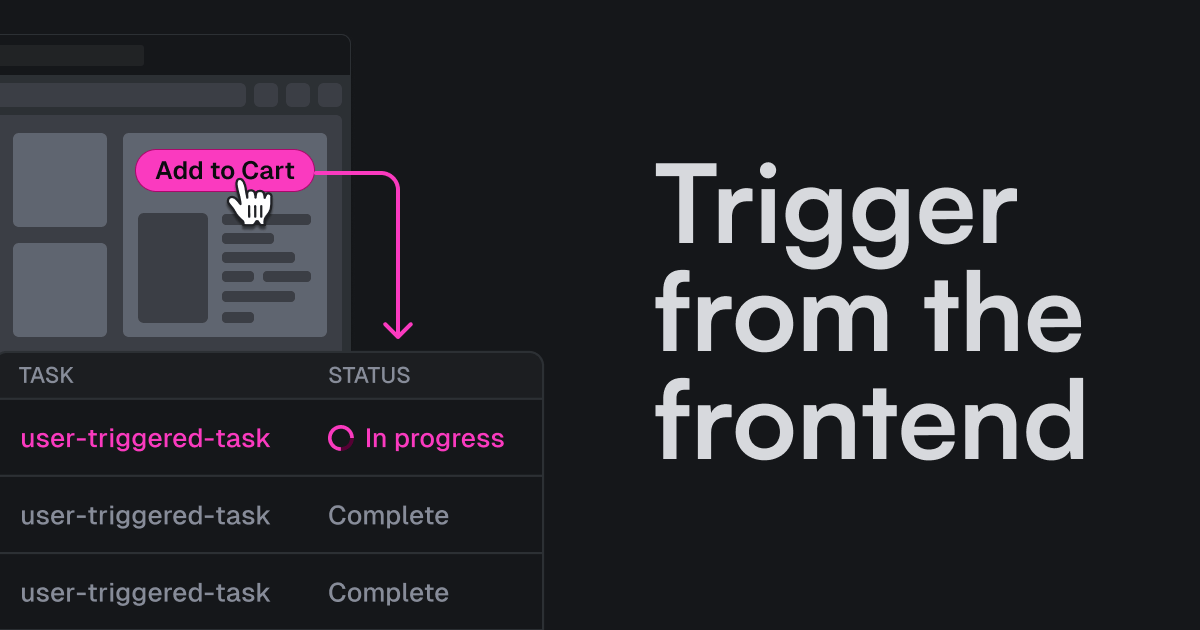
Trigger from the frontend
Trigger.dev now supports triggering tasks from the frontend.
Launch week
•

Build extensions
Install system packages, like FFmpeg and Puppeteer, and modify the build process.
Launch week
•
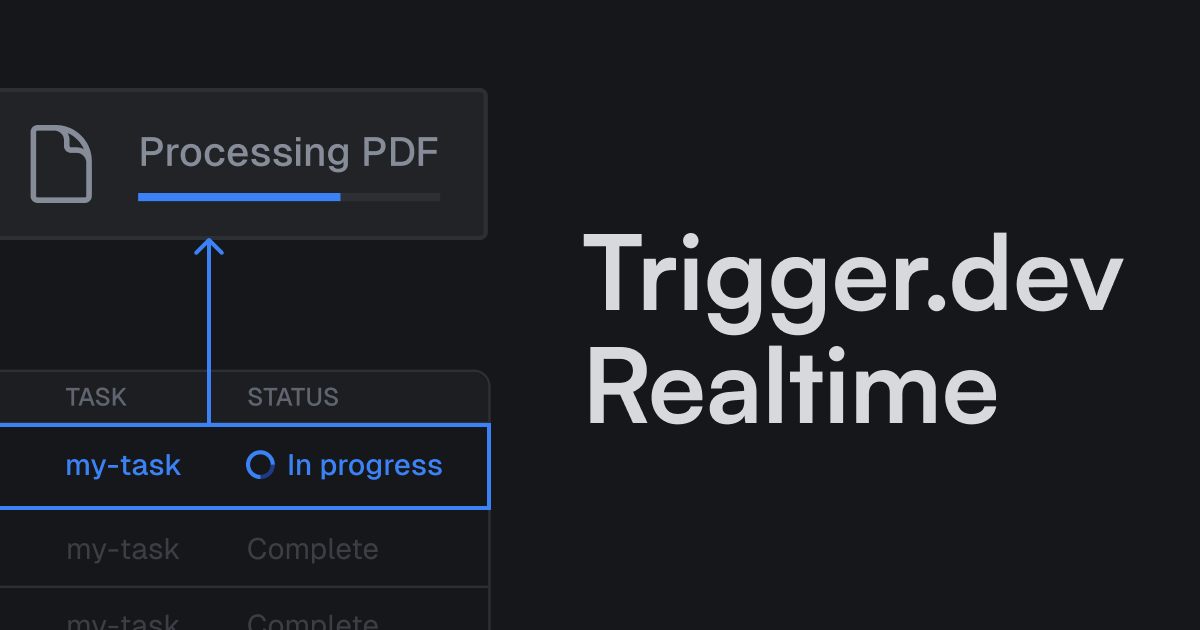
Realtime goes GA
Keep your users updated with real-time task progress. Now with LLM streaming support and increased limits.
Launch week
•

How NUMI uses Trigger.dev to build resilient systems
Agree Ahmed, CEO of NUMI, shares his story of how they have re-architected their code to use Trigger.dev, and how it has changed the way they think about building complex distributed systems.

Customer story
•

Real-time PDF conversion with Trigger.dev: Papermark's success story
Marc Seitz, co-founder of Papermark, runs through how they have used Trigger.dev to build a real-time PDF conversion service, with thousands of conversions successfully processed per month.

Customer story
•
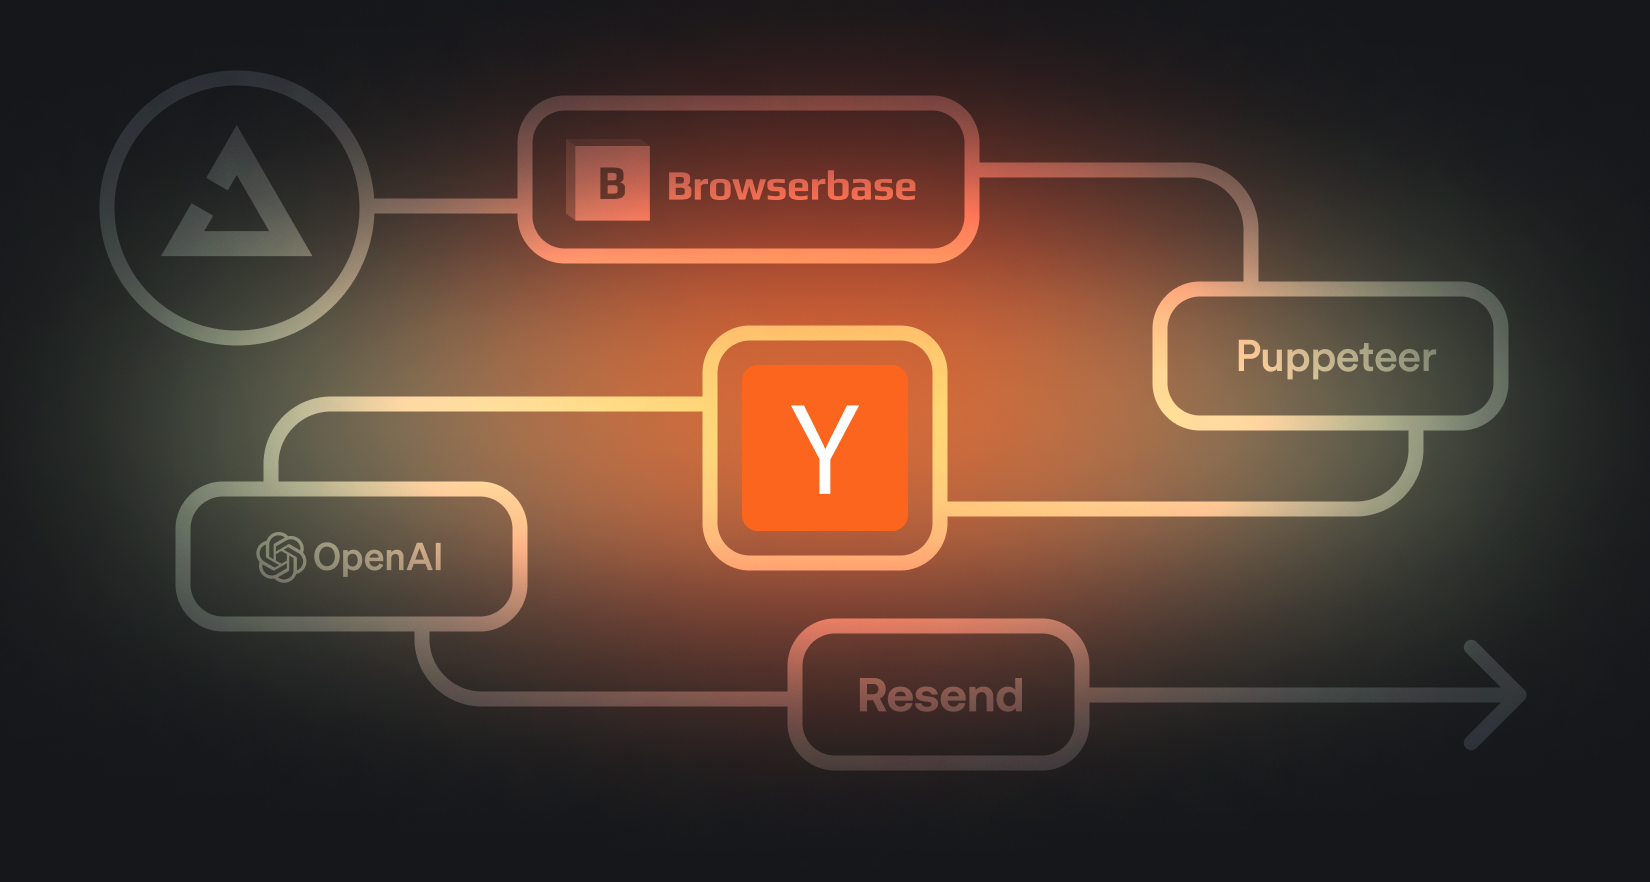
How to scrape a website using Browserbase, Puppeteer, OpenAI and Trigger.dev
Learn how to scrape the top 3 articles from Hacker News and email yourself a summary every weekday at 9AM.
Article
•

Trigger anything from a database change using Supabase with Trigger.dev
Learn how to use Trigger.dev with Supabase to create event-driven workflows. We'll cover triggering tasks from Edge Functions, performing database operations, and building a video processing pipeline with AI transcription.

Article
•

From beta to 3.0: Trigger.dev v3 reaches GA
Trigger.dev v3 is now out of beta and at v3.0.0. This release includes a new CLI, a revamped build system, and more.
Article
•

How we stopped xmin horizon blocking Postgres vacuuming: a deepdive
We encountered an issue with xmin horizon blocking Postgres vacuuming, causing system slowdowns. Learn about our troubleshooting process, the solution we implemented, and our steps to prevent similar incidents in the future.
Article
•

Trigger.dev v2 end-of-life and how to upgrade to v3
Trigger.dev v2 will reach end-of-life on January 31st 2025. Here's what you need to know and how to migrate to v3.
Article
•

Trigger.dev v3 is now open to everyone
Today, I'm excited to announce that Trigger.dev v3 is now open to everyone. No more waitlist!
Article
•
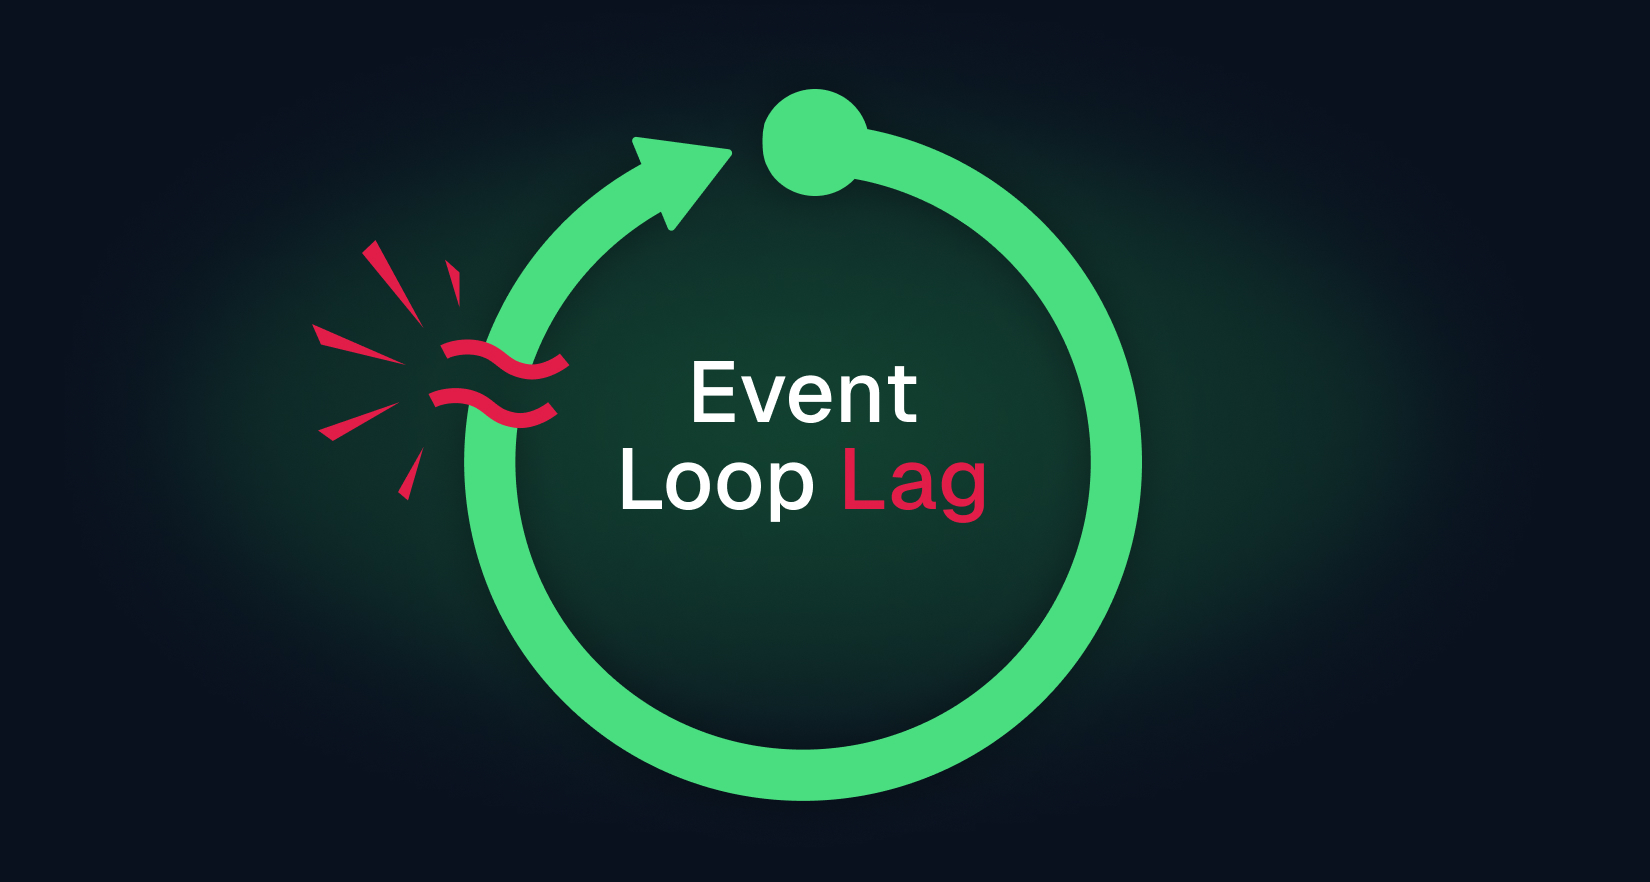
How we tamed Node.js event loop lag: a deepdive
We recently experienced some service degradation and downtime due to event loop lag in our Node.js service. Here's how we diagnosed and fixed the issue.
Article
•

Trigger.dev v3 Developer Preview is now available
Today you can get early access to v3. No timeouts, easy reliability and a new dashboard for finding and fixing bugs.
Article
•
Trigger.dev v3: Durable Serverless functions. No timeouts.
Write regular code and get durability with no timeouts. This means writing long-running tasks is far easier than before.
Article
•

Trigger.dev raises $3M
Trigger.dev, the open source background jobs framework, has today announced a $3M seed round.
Article
•