Overview
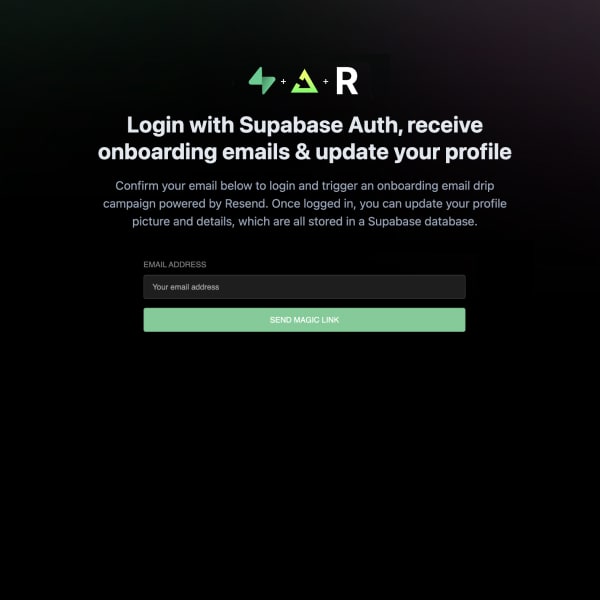
In this example, a user confirms their email via magic link using Supabase Auth. This triggers an onboarding email drip campaign sent using Resend. Once logged in, users can create/update their details, which are stored in a Supabase database.
To get started with this project follow the instructions on the GitHub README page.
This example was adapted from the original Supabase Next.js Auth & User Management Starter with additional instructions for configuring Trigger.dev and Resend.com.
Key features:
- Running Trigger.dev in a Next.js project.
- Using Supabase Auth to verify a users email.
- Triggering a job once a user has confirmed their email, using our Supabase integration.
- Sending an email drip campaign with delays using our Resend integration.
- Storing user credentials in a Supabase database.
- Concurrently running the
next dev server on port 3000 and the @trigger.dev/cli dev command, which will tunnel your Next.js server to Trigger.dev and index any jobs defined.
The job code
import { client } from "@/trigger";
import { Database } from "@/supabase-types";
import { SupabaseManagement } from "@trigger.dev/supabase";
import { Resend } from "@trigger.dev/resend";
// Use OAuth to authenticate with Supabase Management API
const supabaseManagement = new SupabaseManagement({
id: "supabase-management",
const supabaseTriggers = supabaseManagement.db<Database>(
process.env.NEXT_PUBLIC_SUPABASE_URL!
const resend = new Resend({
apiKey: process.env.RESEND_API_KEY!,
id: "welcome-email-campaign",
name: "Welcome Email Campaign",
trigger: supabaseTriggers.onUpdated({
// Trigger this job whenever a user is confirmed
email_confirmed_at: [{ $isNull: true }],
email_confirmed_at: [{ $isNull: false }],
run: async (payload, io, ctx) => {
if (!payload.record.email) {
ctx.run.isTest || ctx.environment.type === "DEVELOPMENT";
// Only wait for 10 seconds when running in as a test or in the development environment
await io.wait("wait-1", isTestOrDev ? 10 : 60 * 60); // 1 hour
const email1 = await io.resend.sendEmail("email-1", {
to: payload.record.email,
subject: `Thanks for joining Acme Inc`,
text: `Hi there, welcome to our community! This is the first email we send you to help you get started.`,
from: process.env.RESEND_FROM_EMAIL!,
await io.wait("wait-2", isTestOrDev ? 10 : 60 * 60 * 12); // 12 hours
const email2 = await io.resend.sendEmail("email-2", {
to: payload.record.email,
subject: `Here are some tips to get started`,
text: `Hi there, welcome to our community! This is the second email we send you to help you get started.`,
from: process.env.RESEND_FROM_EMAIL!,
await io.wait("wait-3", isTestOrDev ? 10 : 60 * 60 * 24); // 24 hours
const email3 = await io.resend.sendEmail("email-3", {
to: payload.record.email,
subject: "Do you have any questions?",
text: `Hi there, welcome to our community! This is the third email we send you to help you get started.`,
from: process.env.RESEND_FROM_EMAIL!,
How to run this project
Follow the instructions on the GitHub README page.