
Often you want to trigger your Jobs from events that happen in other APIs. This is where webhooks come in.
Now you can easily subscribe to any APIs that support webhooks, without needing to use a Trigger.dev Integration. This should unlock you to create far more Jobs than was previously possible.
How to create an HTTP endpoint
We want to send a Slack message when one of our cal.com meetings is cancelled. To do this we need to create an HTTP endpoint that cal.com can send a webhook to.
//create an HTTP endpointconst caldotcom = client.defineHttpEndpoint({ id: "cal.com", source: "cal.com", icon: "caldotcom", verify: async (request) => { //this helper function makes verifying most webhooks easy return await verifyRequestSignature({ request, headerName: "X-Cal-Signature-256", secret: process.env.CALDOTCOM_SECRET!, algorithm: "sha256", }); },});
Getting the URL and secret from the Trigger.dev dashboard
There's a new section in the sidebar: "HTTP endpoints".
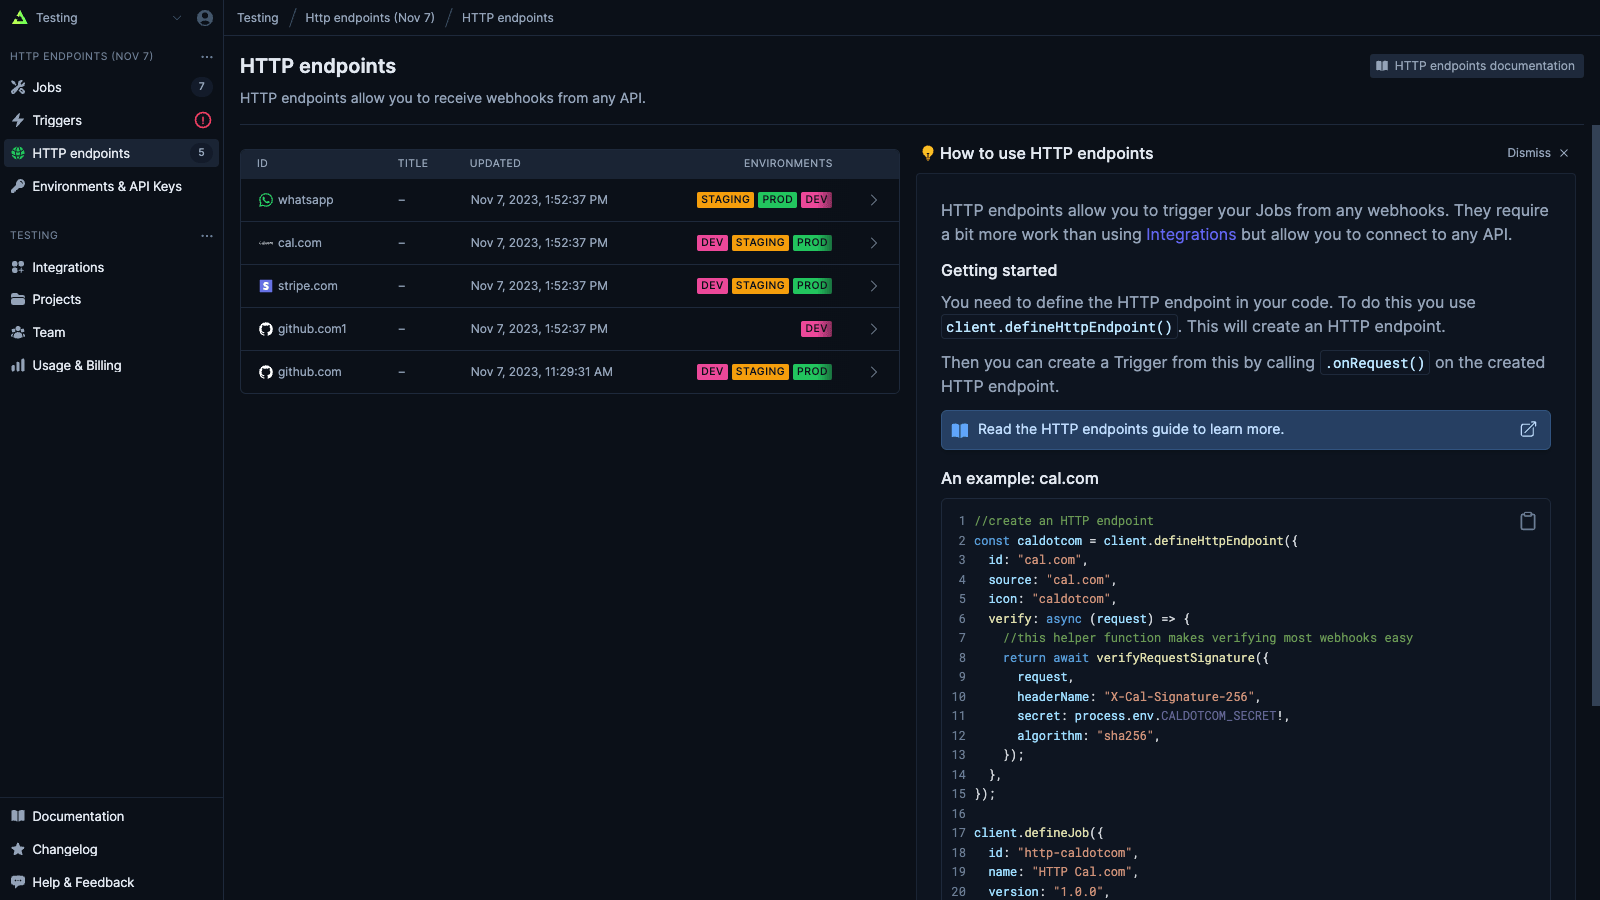
From there you can select the HTTP endpoint you just created and get the URL and secret. In this case, it's cal.com.
Each environment has a different Webhook URL so you can control which environment you want to trigger Jobs for.
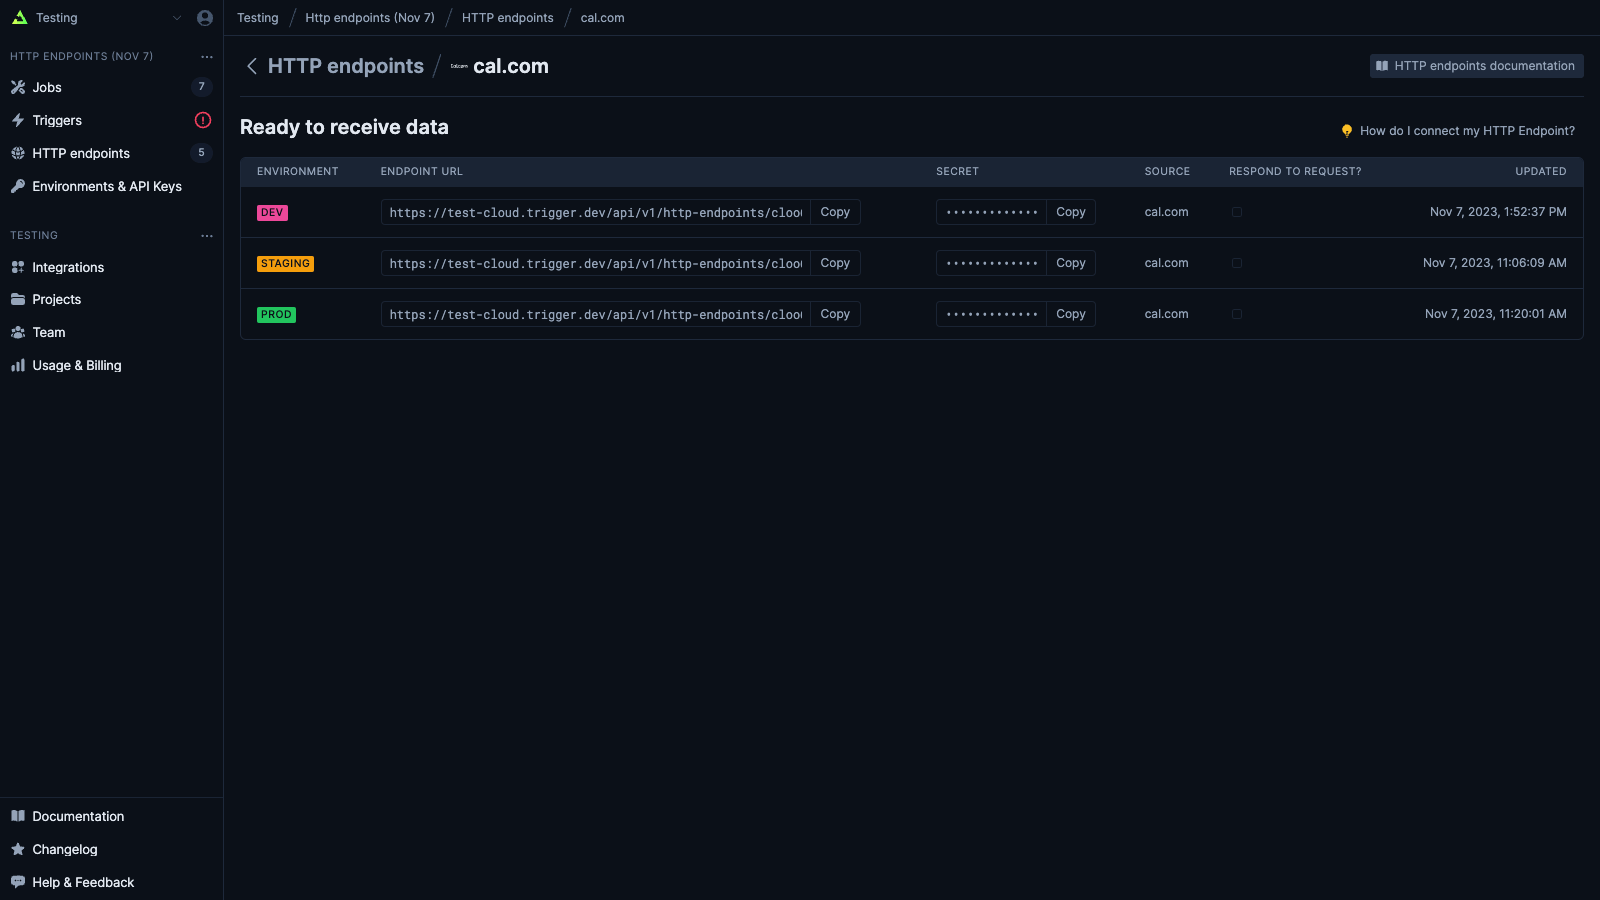
Setting up the webhook in cal.com
In cal.com you can navigate to "Settings/Webhooks/New" to create a new webhook.
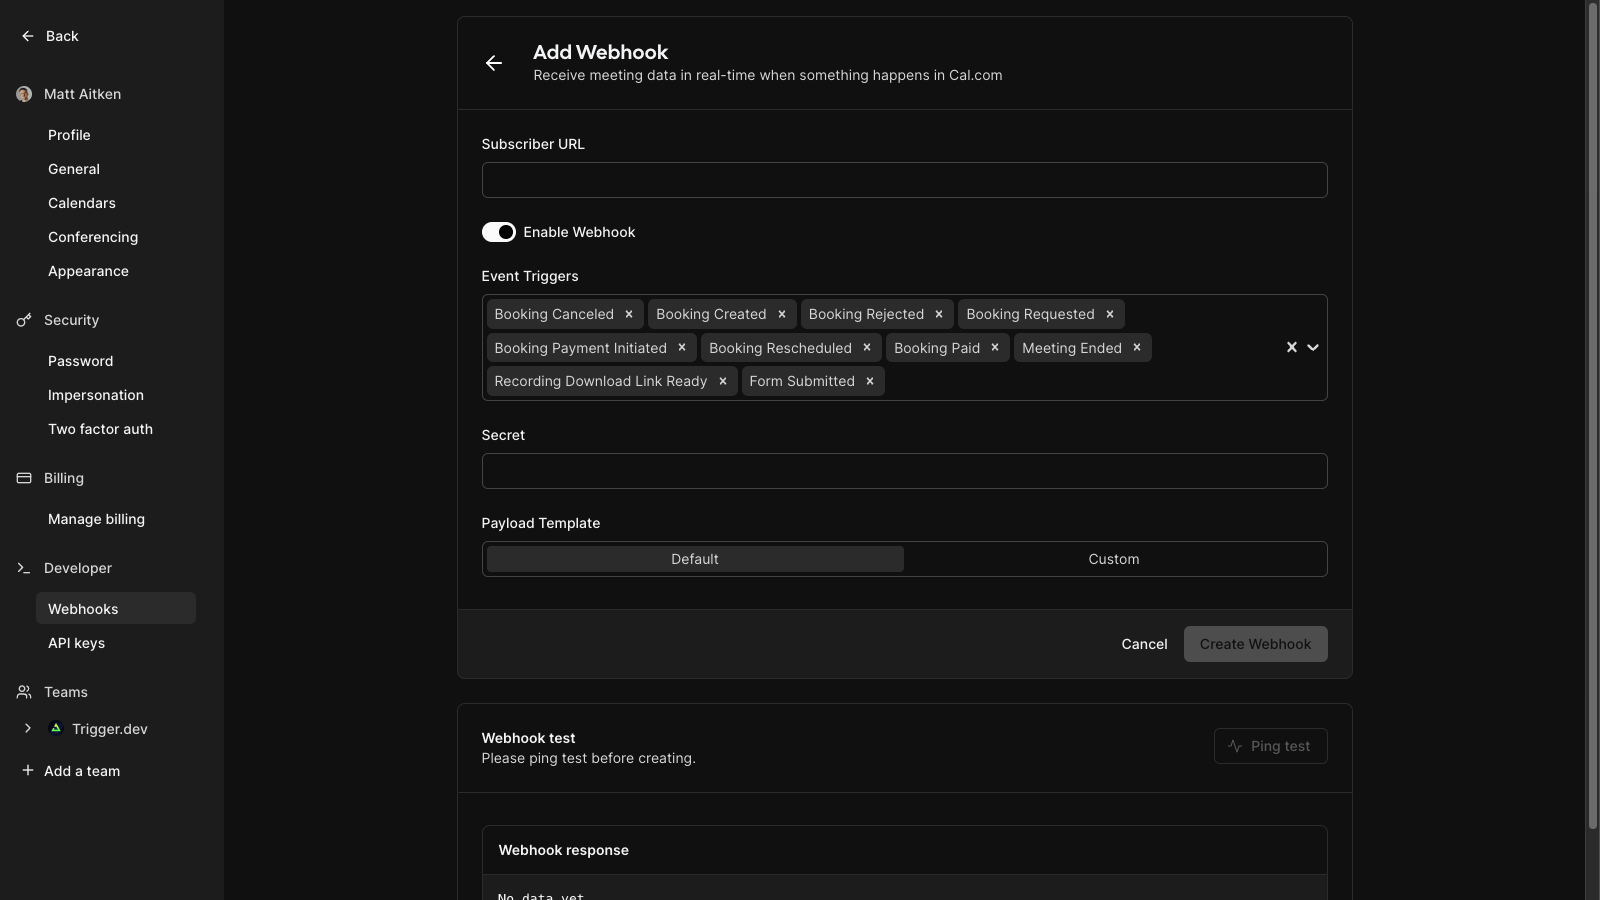
Enter the URL and secret from the Trigger.dev dashboard and select the events you want to trigger Jobs for.
We could only select "Booking cancelled" but we're going to select all the events so we can reuse this webhook for more than just a single trigger.
Using HTTP endpoints to create Triggers
Then we can use that HTTP endpoint to create multiple Triggers for your Jobs. They can have different filters, using the data from the webhook.
client.defineJob({ id: "http-caldotcom", name: "HTTP Cal.com", version: "1.0.0", enabled: true, //create a Trigger from the HTTP endpoint above. The filter is optional. trigger: caldotcom.onRequest({ filter: { body: { triggerEvent: ["BOOKING_CANCELLED"] } }, }), run: async (request, io, ctx) => { //note that when using HTTP endpoints, the first parameter is the request //you need to get the body, usually it will be json so you do: const body = await request.json(); //this prints out "Matt Aitken cancelled their meeting" await io.logger.info( `${body.payload.attendees .map((a) => a.name) .join(", ")} cancelled their meeting ${new Date( body.payload.startTime )}` ); },});
See our HTTP endpoint docs for more info. Upgrade to the latest version of the SDK to start using this feature.
How to update
The Trigger.dev Cloud is now running v2.2.4. If you are self-hosting you can upgrade by pinning to the v2.2.4 tag.
The trigger.dev/* packages are now at v2.2.5. You can update using the following command:
npx @trigger.dev/cli@latest update