> ## Documentation Index
> Fetch the complete documentation index at: https://trigger.dev/docs/llms.txt
> Use this file to discover all available pages before exploring further.
# Bun guide
> This guide will show you how to setup Trigger.dev in your existing Bun project, test an example task, and view the run.
export const framework_0 = "Bun"
The trigger.dev CLI does not yet support Bun. So you will need to run the CLI using Node.js. Bun
will still be used to execute your tasks, even in the `dev` environment.
**Supported Bun version:** Deployed tasks run on Bun 1.3.3. For local development, use Bun 1.3.x
for compatibility.
## Prerequisites
* Setup a project in {framework_0}
* Ensure TypeScript is installed
* [Create a Trigger.dev account](https://cloud.trigger.dev)
* Create a new Trigger.dev project
## Known issues
* Certain OpenTelemetry instrumentation will not work with Bun, because Bun does not support Node's `register` hook. This means that some libraries that rely on this hook will not work with Bun.
* If Bun is installed via Homebrew (e.g. `/opt/homebrew/bin/bun`), you may see an `ENOENT: spawn /Users//.bun/bin/bun` error because the CLI expects Bun at the default install path. **Workaround:** create a symlink:
```bash theme={"theme":"css-variables"}
mkdir -p ~/.bun/bin && ln -s $(which bun) ~/.bun/bin/bun
```
* Bun's WebSocket client does not handle the `101 Switching Protocols` upgrade response correctly, so connecting to a remote browser via `puppeteer.connect()` / `playwright.connectOverCDP()` (e.g. BrowserBase, Browserless) fails silently — typically with an empty `{}` `ErrorEvent`. The remote session opens and immediately drops. **Workaround:** set `runtime: "node"` in `trigger.config.ts` for tasks that connect to a remote browser.
## Initial setup
The easiest way to get started is to use the CLI. It will add Trigger.dev to your existing project, create a `/trigger` folder and give you an example task.
Run this command in the root of your project to get started:
```bash npm theme={"theme":"css-variables"}
npx trigger.dev@latest init --runtime bun
```
```bash pnpm theme={"theme":"css-variables"}
pnpm dlx trigger.dev@latest init --runtime bun
```
```bash yarn theme={"theme":"css-variables"}
yarn dlx trigger.dev@latest init --runtime bun
```
It will do a few things:
1. Log you into the CLI if you're not already logged in.
2. Create a `trigger.config.ts` file in the root of your project.
3. Ask where you'd like to create the `/trigger` directory.
4. Create the `/src/trigger` directory with an example task, `/src/trigger/example.[ts/js]`.
Install the "Hello World" example task when prompted. We'll use this task to test the setup.
Open the `/src/trigger/example.ts` file and replace the contents with the following:
```ts example.ts theme={"theme":"css-variables"}
import { Database } from "bun:sqlite";
import { task } from "@trigger.dev/sdk";
export const bunTask = task({
id: "bun-task",
run: async (payload: { query: string }) => {
const db = new Database(":memory:");
const query = db.query("select 'Hello world' as message;");
console.log(query.get()); // => { message: "Hello world" }
return {
message: "Query executed",
};
},
});
```
The CLI `dev` command runs a server for your tasks. It watches for changes in your `/trigger` directory and communicates with the Trigger.dev platform to register your tasks, perform runs, and send data back and forth.
It can also update your `@trigger.dev/*` packages to prevent version mismatches and failed deploys. You will always be prompted first.
```bash npm theme={"theme":"css-variables"}
npx trigger.dev@latest dev
```
```bash pnpm theme={"theme":"css-variables"}
pnpm dlx trigger.dev@latest dev
```
```bash yarn theme={"theme":"css-variables"}
yarn dlx trigger.dev@latest dev
```
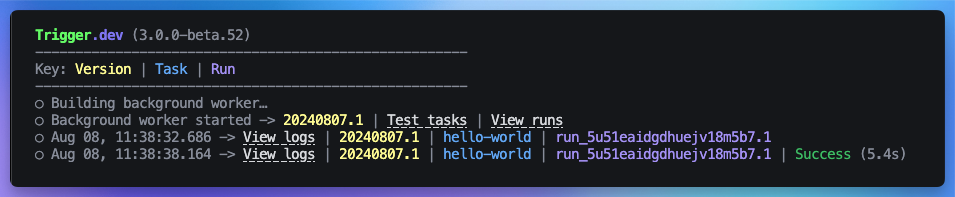
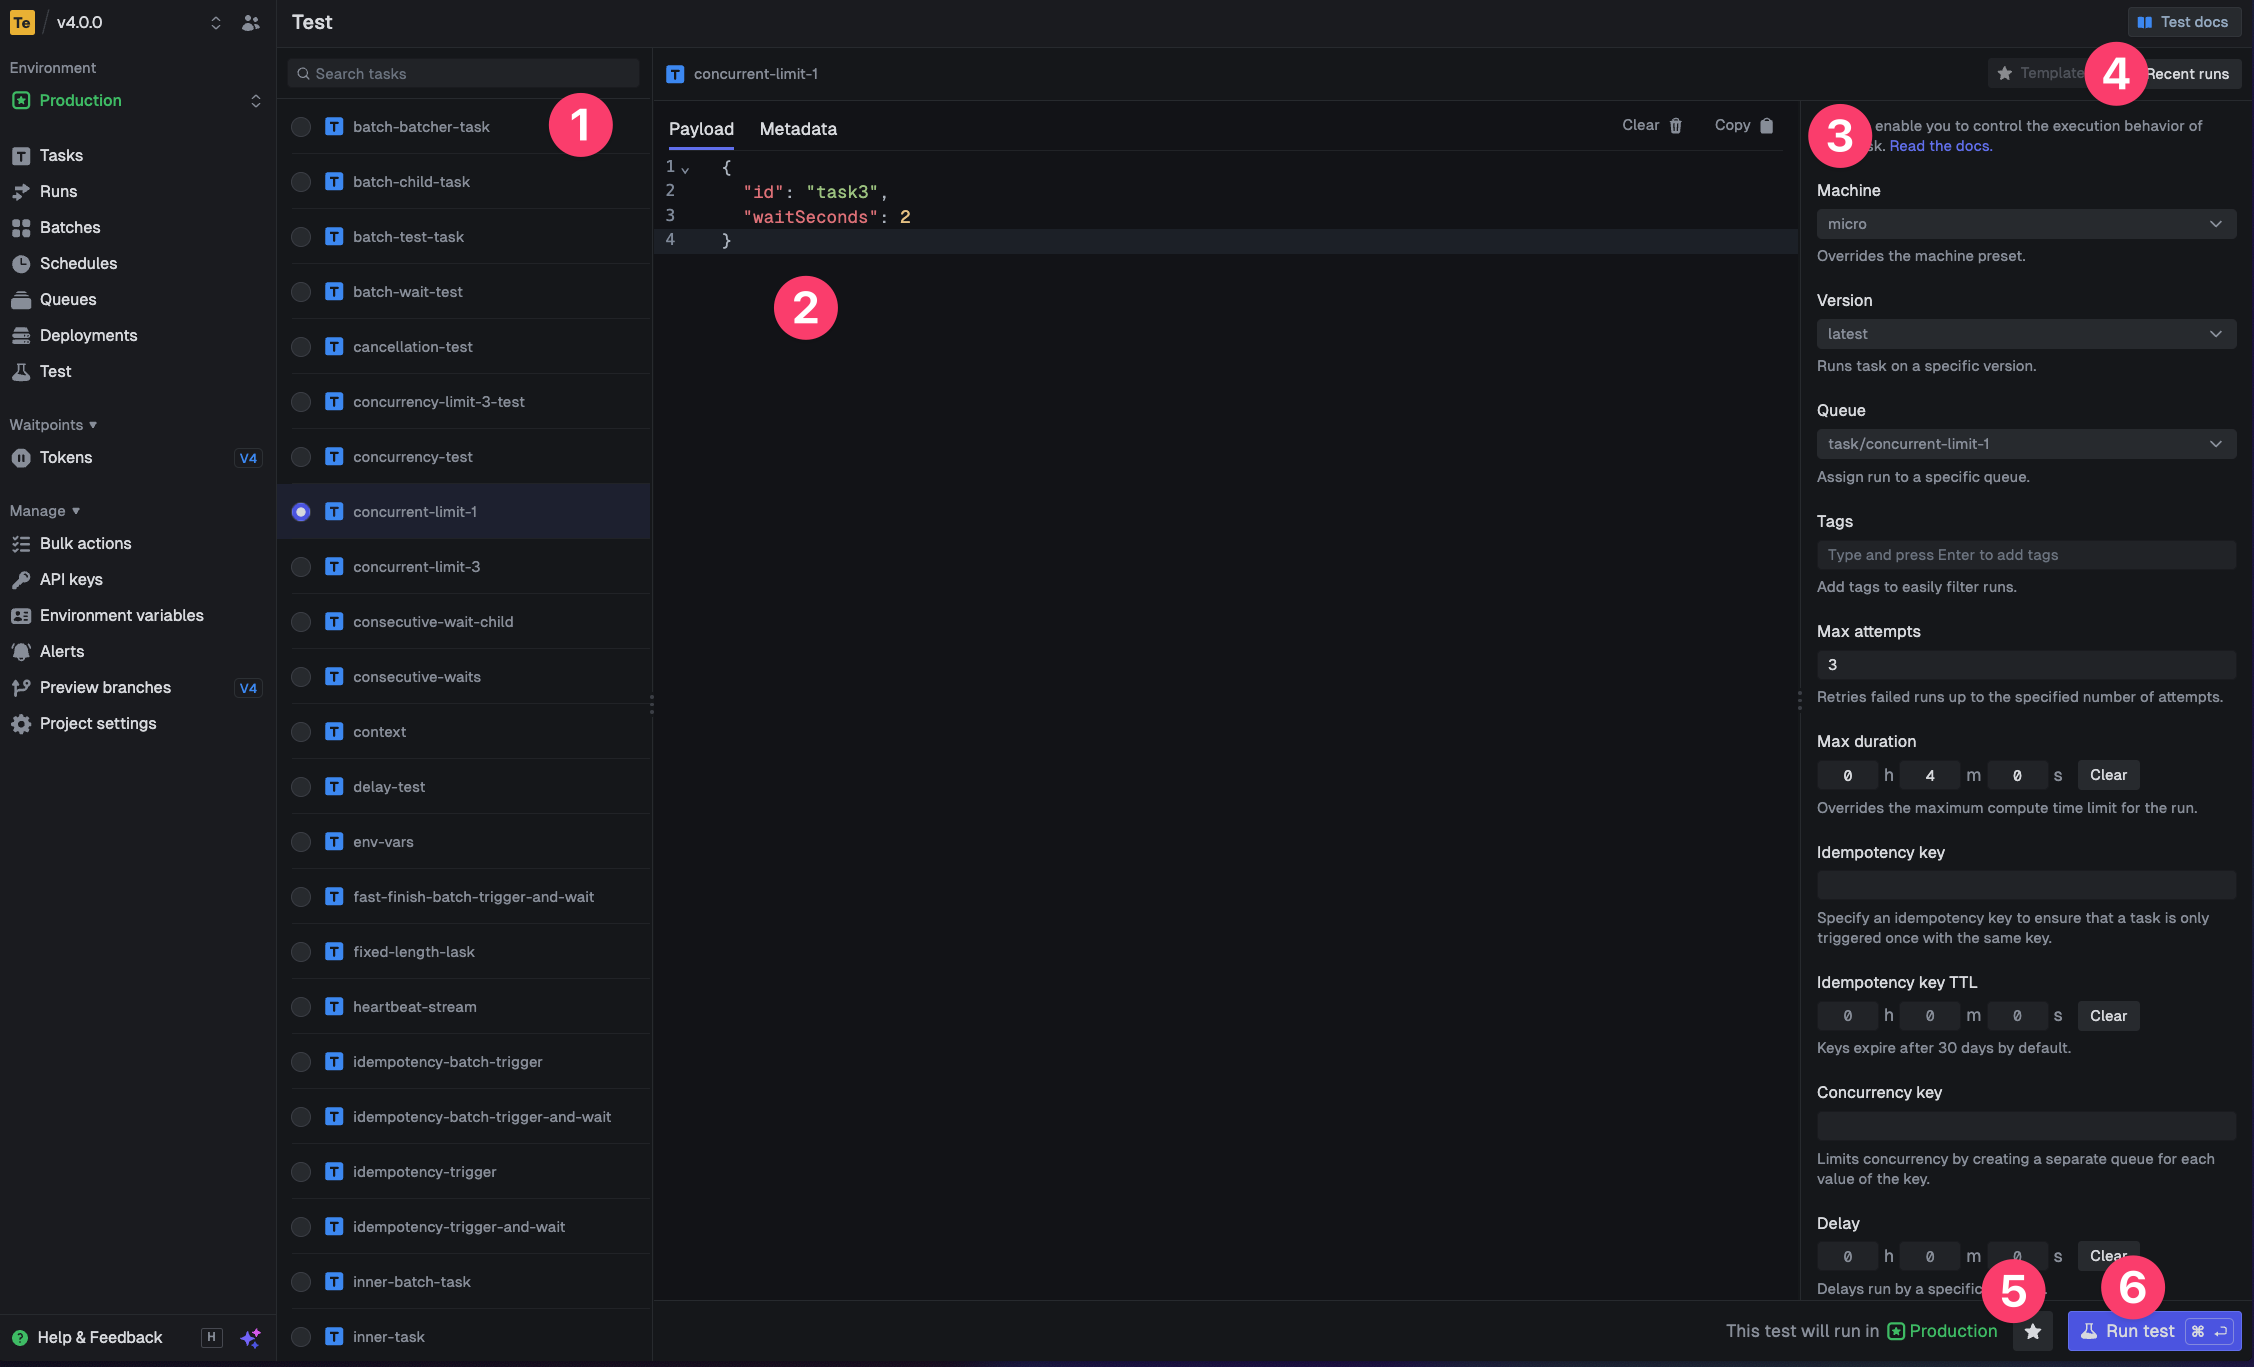
The CLI `dev` command spits out various useful URLs. Right now we want to visit the Test page.
You should see our Example task in the list , select it. Most tasks have a "payload" which you enter in the JSON editor , but our example task doesn't need any input.
You can configure options on the run , view recent payloads , and create run templates .
Press the "Run test" button .
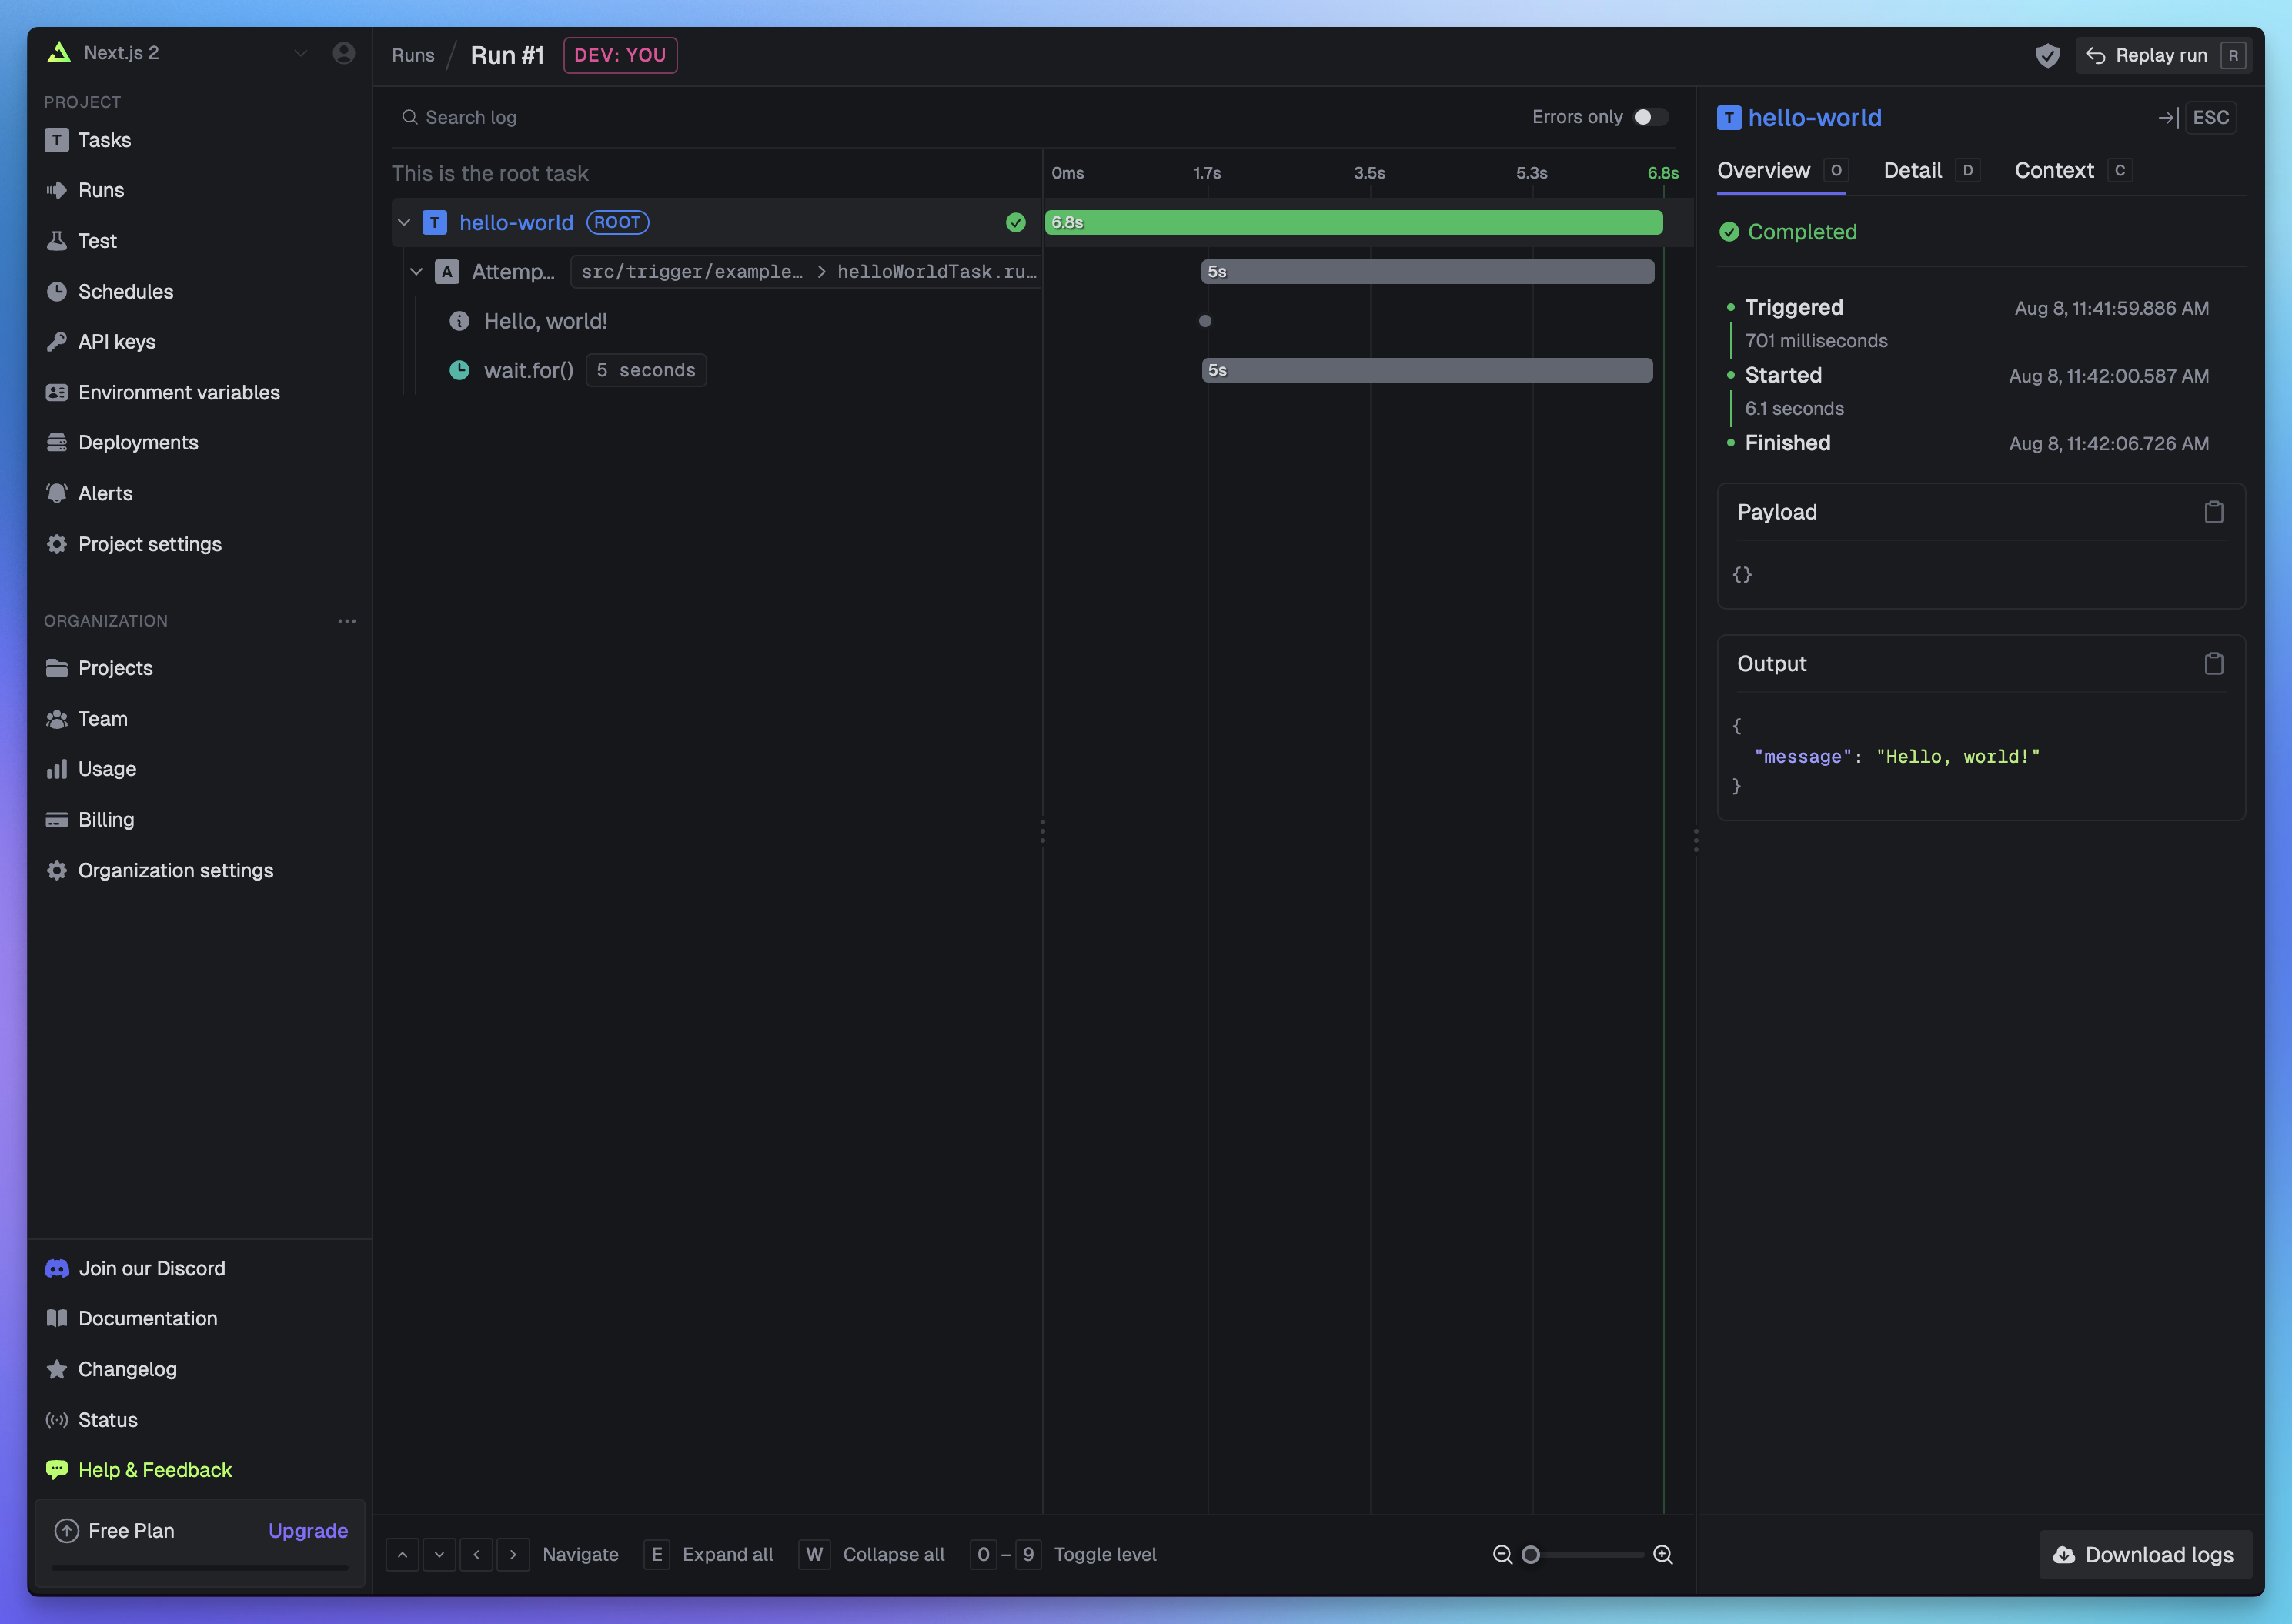
 Congratulations, you should see the run page which will live reload showing you the current state of the run.
 If you go back to your terminal you'll see that the dev command also shows the task status and links to the run log.